
To recap the week 1, we downloaded the file from the website, parquetize it and upload to Google cloud storage manually. In week 2 we will use work orchestration tool to manage the data workflow.
Introduction to Workflow Orchestration
Work orchestration refers to the coordination and management of multiple tasks and processes in a workflow. The goal of work orchestration is to automate and streamline tasks to improve efficiency, reduce errors, and increase productivity.

A Directed Acyclic Graph (DAG) is a commonly used model for representing workflows in work orchestration. In a DAG, tasks are represented as nodes, and the dependencies between tasks are represented as directed edges connecting the nodes. The directed edges represent the order in which tasks must be executed, and the acyclic nature of the graph ensures that there are no circular dependencies.
There are popular tools in the market:
- Luigi
- Apache Airflow
- Prefect
We will learn Prefect this week.
Prefect
Prefect is an open-source work orchestration and automation platform. It provides hybrid execution model cloud and on-prem.
Install Prefect
The first step to getting started with Prefect is to installing the Prefect python package.
- Simply
pip install -U prefectfollowing the official installation docs. - or follow in the course
pip install -r requirement.txtrequirements.txt
pandas==1.5.2
prefect==2.7.7
prefect-sqlalchemy==0.2.2
prefect-gcp[cloud_storage]==0.2.4
protobuf==4.21.11
pyarrow==10.0.1
pandas-gbq==0.18.1
psycopg2-binary==2.9.5
sqlalchemy==1.4.46
Once the installation is done, you can check the version by typing prefect versionin the command line.
Prefect flow & task
A “Flow” in Prefect refers to a directed acyclic graph (DAG) of tasks that represent the steps of a workflow. A “Task” in Prefect is a unit of work that performs a specific action and can be combined with other tasks to create a complete workflow.
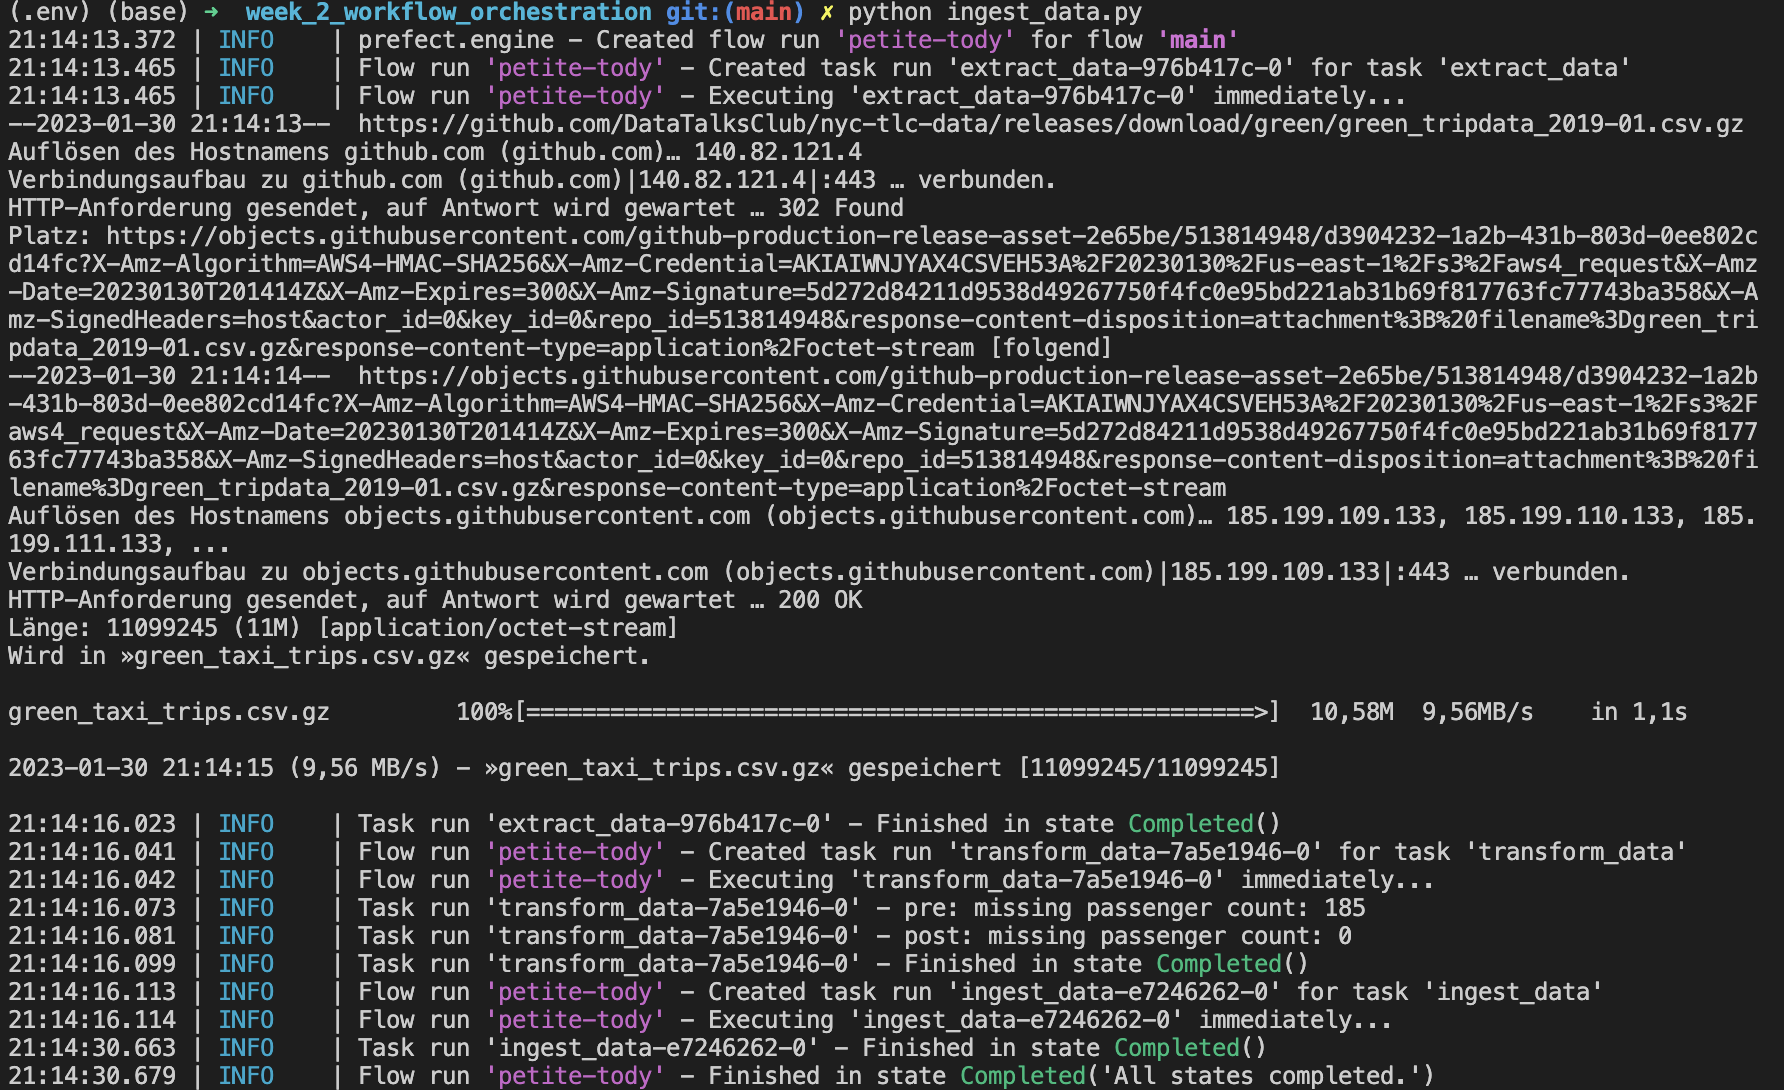
We will breakdown “ingest-data” code from week 1 to prefect ETL tasks. It is much clear. We add task decorator before each task. For more info about python decorator, please refer pythondecorators.
@task(log_prints=True, retries=3, cache_key_fn=task_input_hash, cache_expiration=timedelta(days=1))
def extract_data(url):
    ....

@task(log_prints=True,retries=3)
def transform_data(df):
    .....

@task(log_prints=True,retries=3)
def ingest_data(df, user, password, host, port, db, table_name):
    .......
Then we put the the tasks in the main flow function:
@flow(name="Subflow", log_prints=True)
def log_subflow(table_name: str):
    print(f"Logging Subflow for: {table_name}")

@flow(name="Ingest Data")
def main_flow(table_name: str = "yellow_taxi_trips"):

    csv_url = "https://github.com/DataTalksClub/nyc-tlc-data/releases/download/yellow/yellow_tripdata_2021-01.csv.gz"
    log_subflow(table_name)
    raw_data = extract_data(csv_url)
    data = transform_data(raw_data)
    load_data(table_name, data)

if __name__ == '__main__':
    main_flow(table_name = "yellow_trips")
When we execute the code python ingest_data_flow.py, we can see the logs in the terminal.
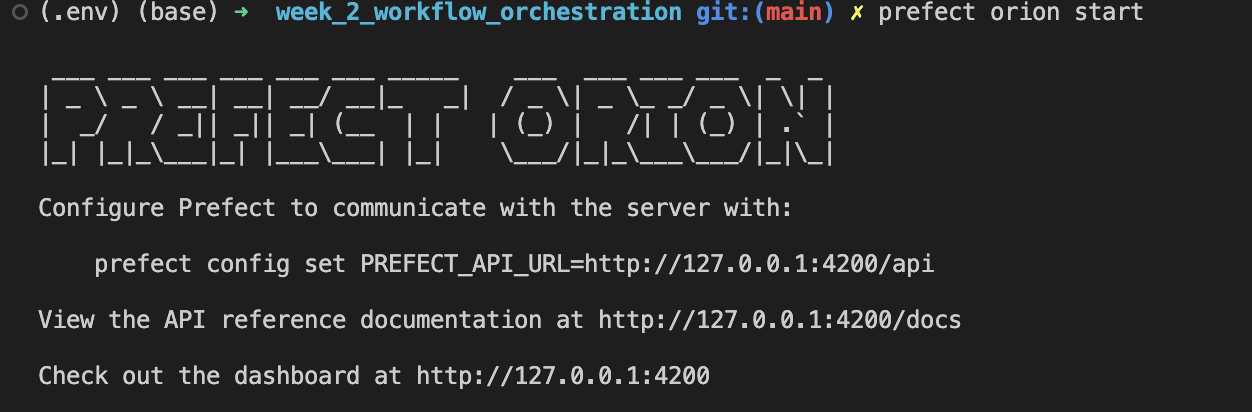
Orion UI
We can start Orion UI with the command prefect orion start. Then we can see the UI dashboard at http://127.0.0.1:4200
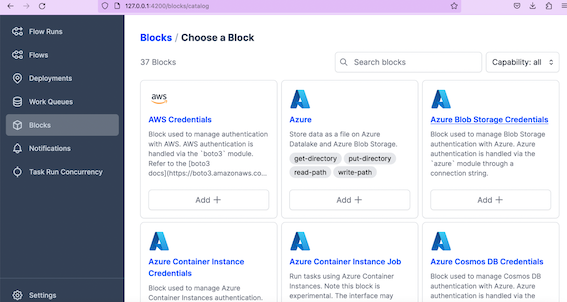
Blocks and collections
In the Orion dashboard you can see Flow runs, flows, deployments, work queues, block and etc. Blocks are very important components which provide an interface for interacting with external systems, such as docker, GCS, Github, Azure and much more.
Postgres connector:
step 1: create a block.

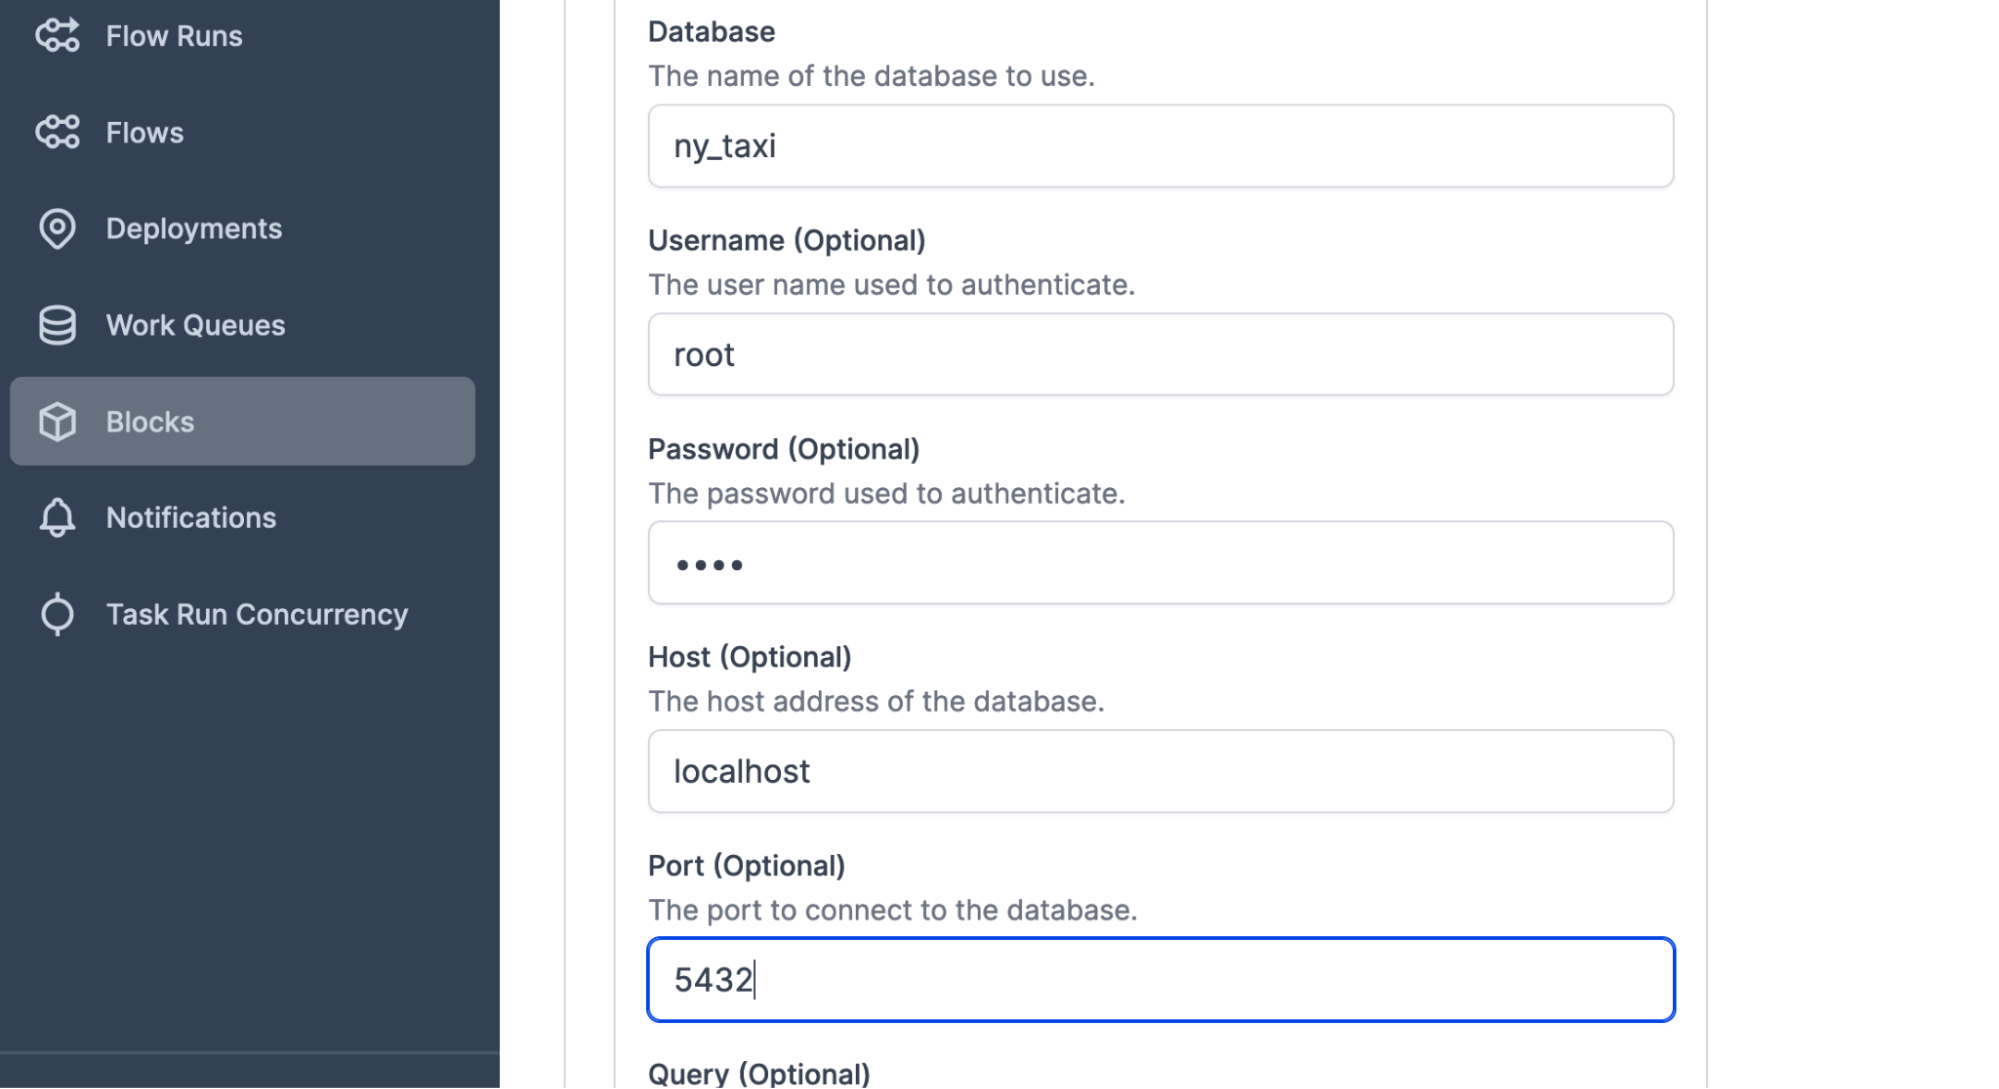
step 2: copy the code to the flow.
Once the block is done, you can import the code.

postgres_url = f"postgresql://{user}:{password}@{host}:{port}/{db}"
engine = create_engine(postgres_url)

@task(log_prints=True,retries=3)
def ingest_data(df, table_name):
   connection_block = SqlAlchemyConnector.load("postgres-connector")
   with connection_block.get_connection(begin=False) as engine:
       df.head(n=0).to_sql(name=table_name, con=engine, if_exists='replace')
       df.to_sql(name=table_name, con=engine, if_exists='append')
ETL with GCP & Prefect
Step 1: Register the block with command prefect block register -m prefect_gcp
Step 2: Create a google cloud storage bucket block connector
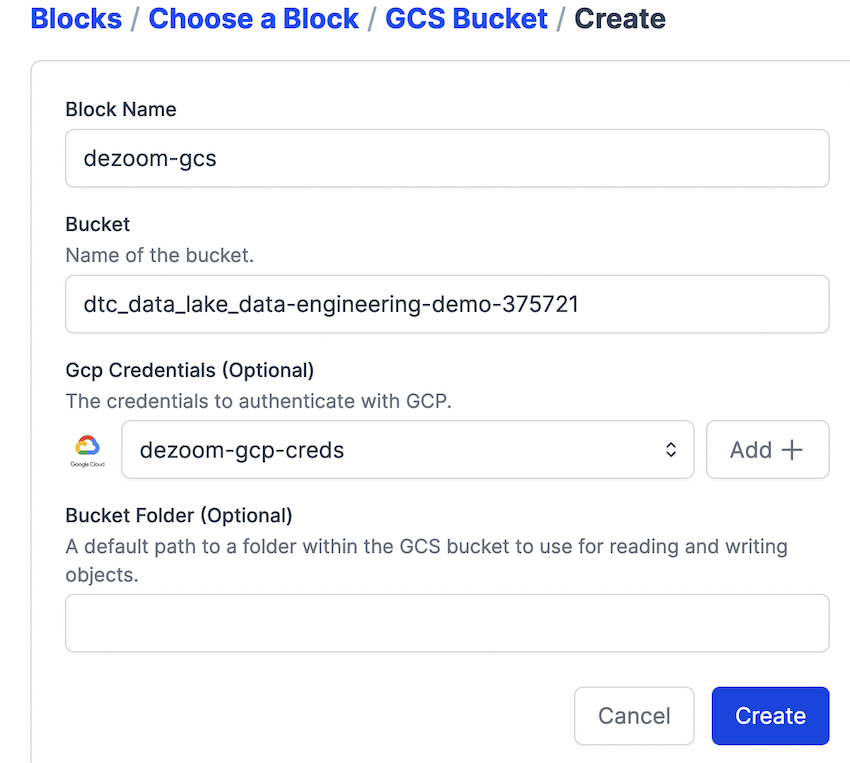
Step 3: Add GCS credential

Step 4: Execute the code etl-web-to-gcs
@task()
def write_gcs(path: Path) -> None:
    """Upload local parquet file to GCS"""
    gcs_block = GcsBucket.load("zoom-gcs")
    gcs_block.upload_from_path(from_path=path, to_path=path)
    return
ETL from gcs to bq
To load data from gcs to big query, we did the same step as before and adjusted our code when necessary.
@task(log_prints=True, retries=3) # , cache_key_fn=task_input_hash, cache_expiration=timedelta(days=1)
def extract_from_gcs(color: str, year: int, month: int) -> Path:
    """Download trip data from GCS"""
    gcs_path = f"data/{color}/{color}_tripdata_{year}-{month:02}.parquet"
    gcp_bucket_block = GcsBucket.load("dezoom-gcs")
    gcp_bucket_block.get_directory(
        from_path=gcs_path
    )
    df = pd.read_parquet(f"data-engineering-demo/{gcs_path}")
    return df

@task(log_prints=True, retries=3)
def write_bq(df: pd.DataFrame) -> None:
    """Write DataFrame to BigQuery"""
    gcp_credentials_block = GcpCredentials.load("dezoom-gcp-creds")
    credential = gcp_credentials_block.get_credentials_from_service_account()

    df.to_gbq(
        destination_table="dezoomcamp.rides",
        project_id="data-engineering-demo-375721",
        credentials=credential,
        chunksize=500_000,
        if_exists="append",
    )
Prefect flow deployment
There are two methods to deploy the flow: CLI or python file.
Method 1: deployment using cli
Step 1: build
prefect deployment build ./parameterized_flow.py:etl_parent_flow -n "Parameterized ETL"
prefect deployment build is the Prefect CLI command that enables you to prepare the settings for a deployment.
- ./parameterized_flow.py:etl_parent_flow specifies the location of the flow script file and the name of the entrypoint flow function, separated by a colon.
- -n log-simple specifies a name for the deployment.
What it did is to create a etl flow deployment parent yaml file.

step 2: apply
prefect deployment apply etl_parent_flow-deployment.yaml
Method 2: deployment with python file
from prefect.infrastructure.docker import DockerContainer
from prefect.deployments import Deployment
from parameterized_flow import etl_parent_flow


docker_container_block = DockerContainer.load("docker-zoom")

docker_dep = Deployment.build_from_flow(
   flow=etl_parent_flow,
   name="docker-flow",
   infrastructure=docker_container_block
)

if __name__ == "__main__":
   docker_dep.apply()
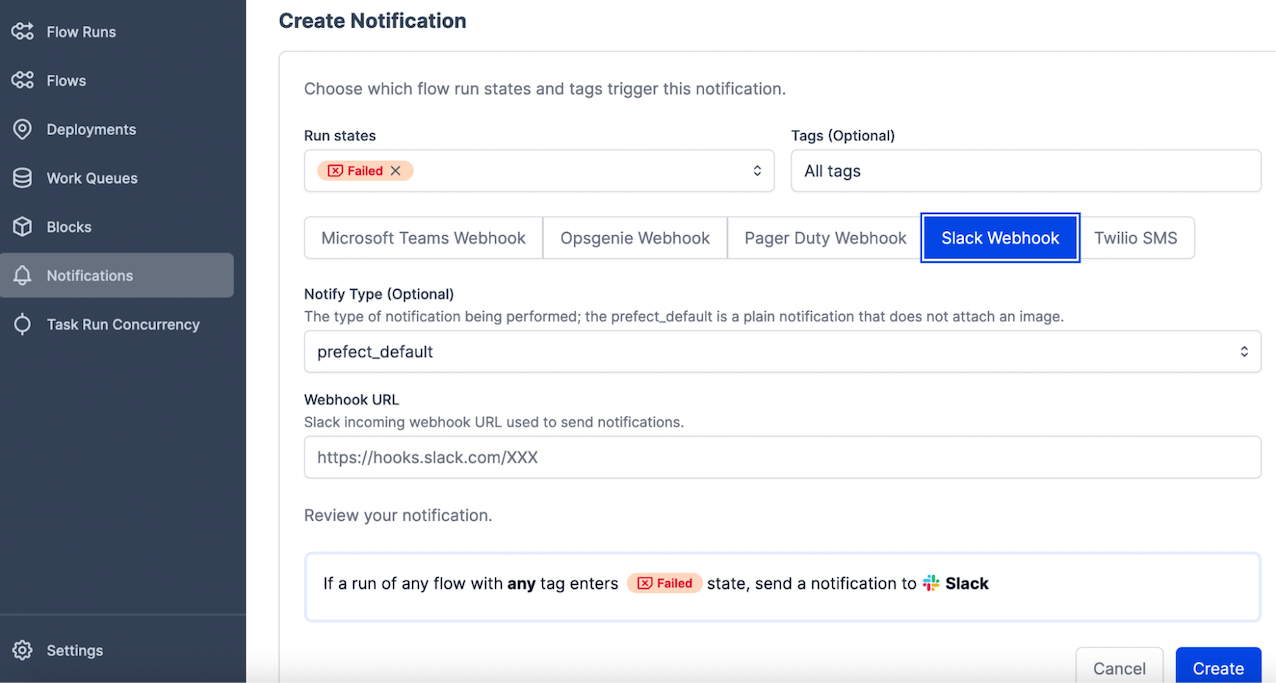
Create notification
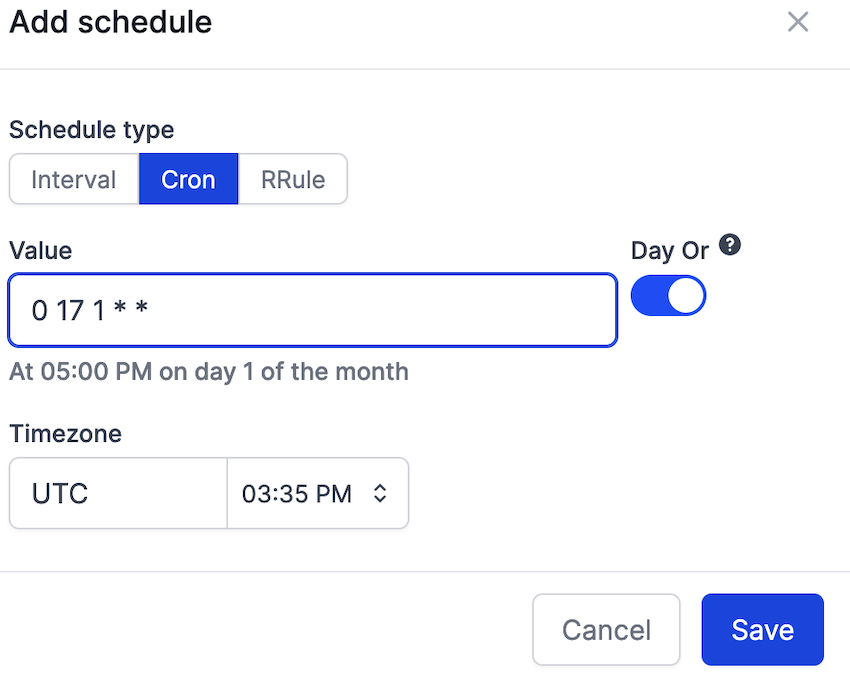
Schedule flow
Use cron.
# ┌───────────── minute (0 - 59)
# │ ┌───────────── hour (0 - 23)
# │ │ ┌───────────── day of the month (1 - 31)
# │ │ │ ┌───────────── month (1 - 12)
# │ │ │ │ ┌───────────── day of the week (0 - 6) (Sunday to Saturday;
# │ │ │ │ │                                   7 is also Sunday on some systems)
# │ │ │ │ │
# │ │ │ │ │
# * * * * * <command to execute>
Store code in docker image
- Create docker file:
FROM prefecthq/prefect:2.7.7-python3.9

COPY docker-requirements.txt .

RUN pip install -r docker-requirements.txt --trusted-host pypi.python.org --no-cache-dir

COPY prefect /opt/prefect/flows
COPY data /opt/prefect/data
-
Build a docker image. Don’t forget the last .
docker image build -t xiahe/perfect:zoom .Make sure you have tagged your image in this format: {{username}}/{{imagename}}:{{version}} -
Push docker file ‘‘‘docker image push xiahe/prefect:zoom’’’
Reference:
❤️ Please visit my home page for more contents. I look forward to connecting with you via LinkedIn.
❤️ You might like From A Stay-At-Home Mom To A Data Scientist.
